Homemade clay earrings are the perfect new craft to get your hands into! Whether you're a seasoned crafter or an amateur (like me), you will end up having a blast doing it. Bonus: it might even give you some nostalgia and bring you back to popping Shrinky Dinks in the oven as a kid.
Let me begin by saying time flies when you’re happily crafting away! I found myself working on this craft several nights in a row (even though I only planned on dedicating one evening to this project). It’s addicting! With each pair you think of something else to perfect or try on your next go around. There is definitely some trial and error involved (my roommate asked if one of my first attempts was a tongue) in order to get a style you like but once you get there, you can knock out several of the same pairs.
Supplies you’ll need for this project:
• Earring Posts and Backs
• Jump Rings
• Adhesive* We like Beacon 527 Multi-use Glue
*Note: Make sure the glue you use will work on clay.
• A variety of shapes to cut with! You could use mini cookie cutters,
or just caps from things around your house.
• An oven or toaster oven
• Parchment Paper
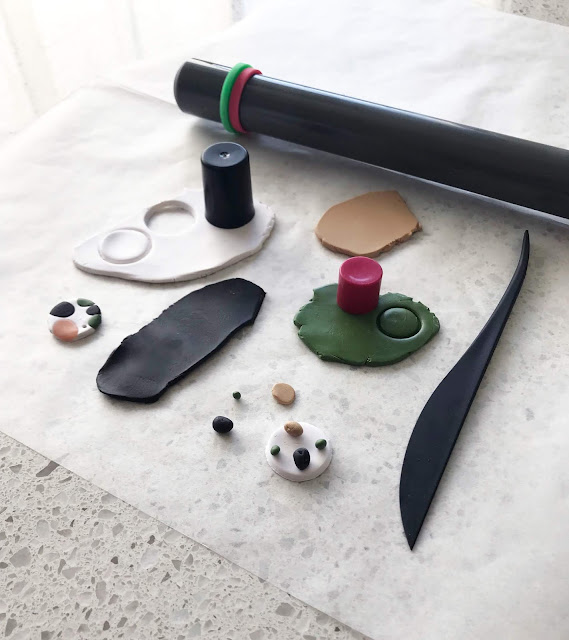
If you’re trying to figure out what to cut your earrings out with, the best shapes can come from things you have lying around the house. You can see my deodorant lid, chap stick cap, a perfume bottle cap, etc. in the image above. I used these as my stencils for all earrings and they worked out just as well as a cookie cutter.
Pick out the color combos you want to use for your earrings and start rolling with the Wilton Fondant roller. This roller makes ALL the difference. This roller flattens clay easily and evenly in a matter of a few seconds. Parchment paper is a must too if you want to save yourself the struggle of having everything stick to your work surfaces. Bonus: after you’re finished, it’s easy to just throw that in the oven without having to move your clay to another surface and messing up your masterpiece!
Once you rolled the clay, cut out the size and shape you want the earrings to be, then you can start designing! I chose to add different colors by adding small balls of clay to my earring base and used my roller to lightly squish into the base (see before and after images).
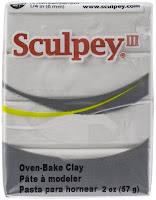
The Sculpey tool set really comes in handy here. To get the edges cleaned up, go around your earring with the knife tool and get rid of any bumps or imperfections you see. Clay is a tricky medium to work with so most often there will be a little blemish or two but that just makes each earring unique. In my opinion, it makes them better!
Before throwing your earrings into the oven, decide on what type of style you want your earrings to be. Studs or dangly earrings? If you choose to add two pieces together like I did, my main advice is to a.) make the hole big enough for the jump ring to go through and b.) make sure the holes are close enough to the edge. Too small of a hole and the jump ring wont go through, too big of a gap means your jump ring wont close. Just be mindful of that while at work.
Time to bake! All clay has different instructions so read the packaging to determine the length and heat you need to follow.
Allow time for them to cool from the oven, then you can move on to the final step. Putting your earrings together just requires a little hand strength (to get the hoop closed, we suggest using pliers) and some Beacon Adhesives glue. Glue the posts to the back of the earrings (let dry completely!) and put the back on and you're done!
Since I made several of one particular design, I gifted a few pairs to family and friends. Show the ladies in your life some love and appreciation by doing the same.
PSA: International Woman’s Day was just last week so get Sculpey-ing!


No comments:
Post a Comment